dev log #14 - projects
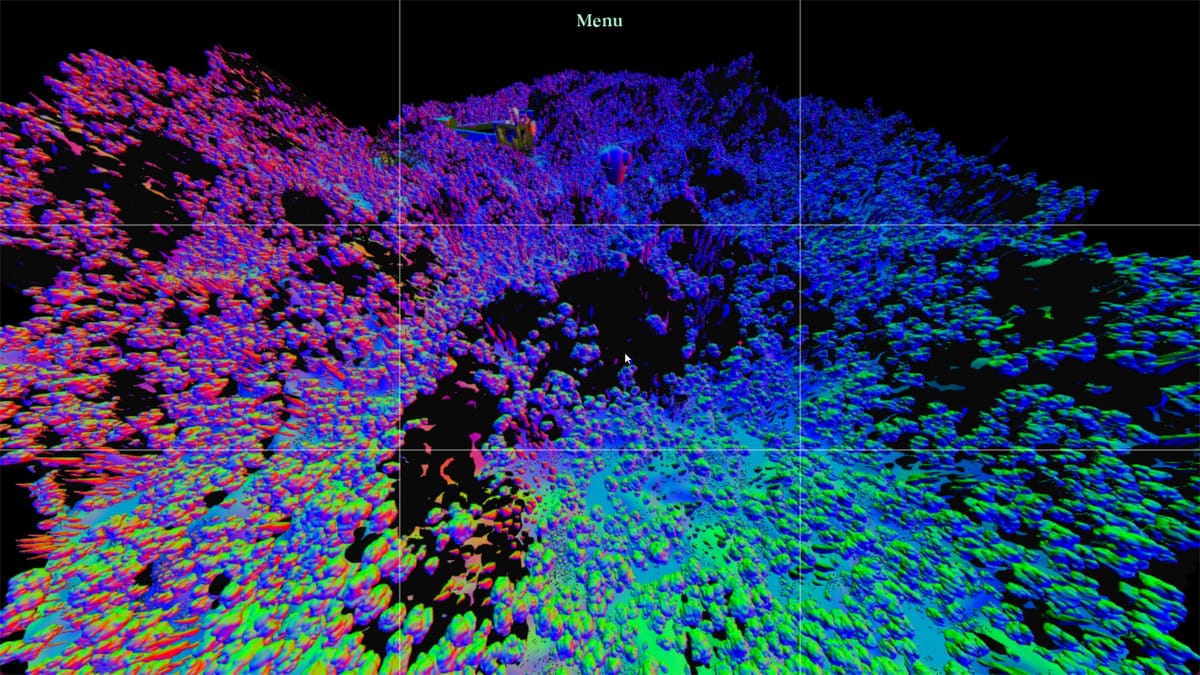
Hello, Hi! as we start to wrap up for wider release we've got plenty to talk about - this is part 4, the final part for now exploring what it feels like and looks like to use luxe to make games, in concrete detail. Find another cozy seat and see what a luxe project looks like. Actually I don't mind if it's the same cozy seat all along.
Note again that some details aren't final and will be evolving, but this is how things work as of now. Images are work in progress and not final.
The root of it all
For the final part of this series we'll talk a little about what a project looks like, how they're typically made and what conveniences there are when it comes to making a project.
Let's have a look from the outside in, the folder contents of a fairly empty project:
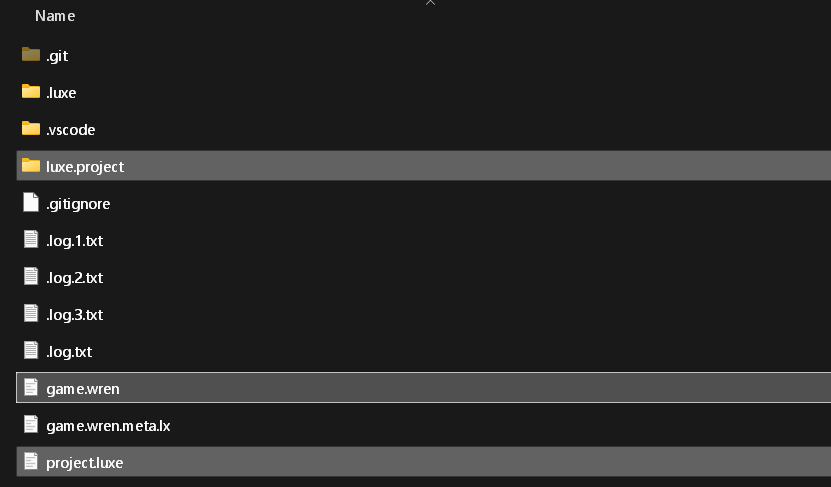
We'll start with the game entry point, our "main" code. This being game.wren by convention. For a very empty project like this, you get the most simple of setups - a ready + main loop. You control everything.
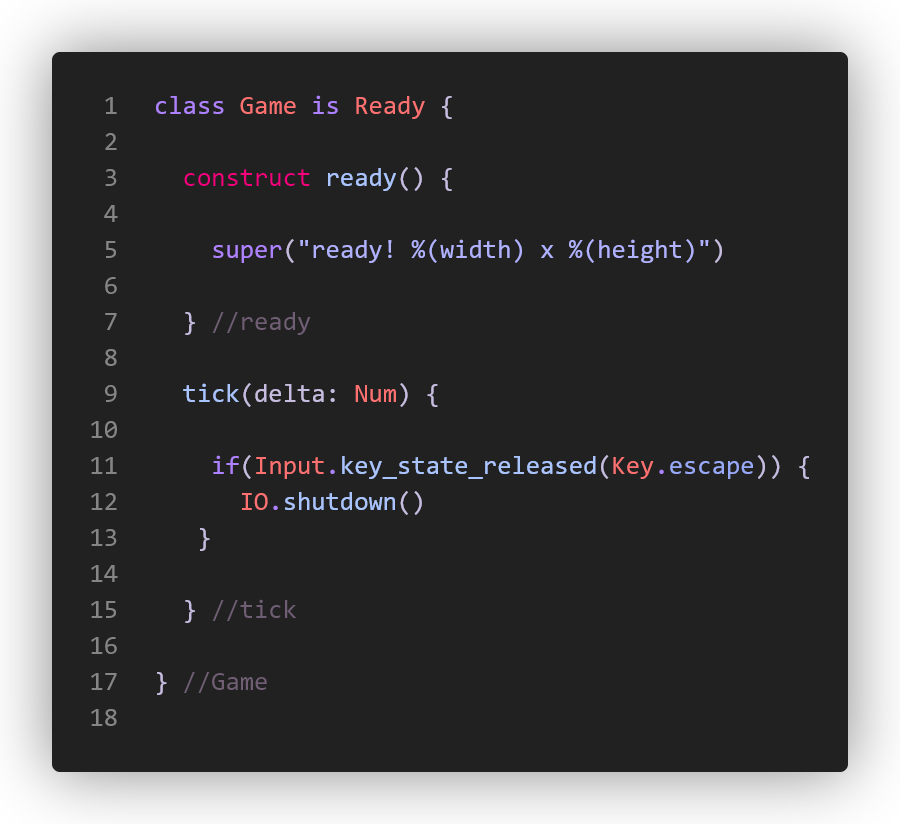
Since we land straight into the main loop, you can prototype a lot of stuff here, or make a whole game. Like if I'm implementing a prototype using the 2D drawing API, I can easily do the whole thing in this file. No scenes, no modifiers needed - code only, code first.
You can also just create classes like class Player {} and work with a simple main loop like update() draw() style workflow if you choose. For a lot of games and prototypes and tools, this is plenty.
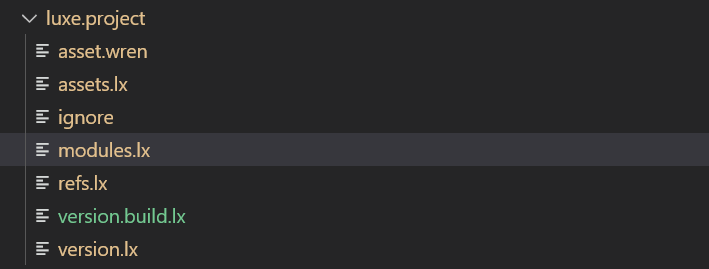
luxe.project/
This is the project config folder that stores project information for the user + engine. There's things in flux but the gist remains.
logs
One thing that isn't finished being tidied, is the project log files are supposed to be in luxe.project/logs/.log.txt but are in the root. We iterate!
ignore
Nothing surprising here! Often we store content in the game folder that shouldn't be built into the game content. This allows excluding it. By default in an empty game it just includes the preview.png which is used by the launcher/editor to display a thumbnail of the game. This is a simple file with one line per ignore rule.
asset.wren
asset.wren is a convenience file, your access point to assets. This file is generated and allows us to have typed access to assets - including custom asset types and more. As an example, here we grabbed a game specific spell asset here, it gives us completion, type inference (the black inlay hint) and so on.

assets.lx
This file is called the asset memory. Whenever you build, the asset database remembers assets it has seen, and stores their meta uuid in here. It's human readable and is meant to be checked into version control with the project. Whenever assets or dependencies change, it'll track them.
The purpose of this is to track asset changes, if you move an asset from A -> B in the project, it can tell because of the memory. If you delete an asset we can also tell you and help make it easier to sort out.
refs.lx
Related to the asset memory, this tracks references that we know about between assets. This allows two way tracking of references, we can tell what assets are referring to your asset, and what assets yours refers to. This is foundational in a lot of things, like finding and replacing references when moving files, analyzing asset usage and a lot more.
version.lx / version.build.lx
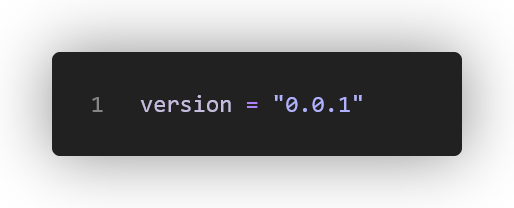
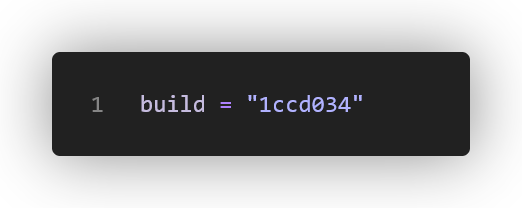
These are simple human + machine-writable/readable lx files containing the project version number + version build details. These values become available at runtime to display on the corner of a screen or in the menus.
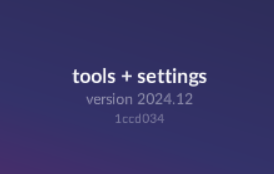
It really is just a semver shaped version string inside of an lx file.
The build version can be any string you want to store. This is often useful for internal build numbers, git/svn revision numbers and so on. This file is typically generated automatically (we'll see an example of this below).
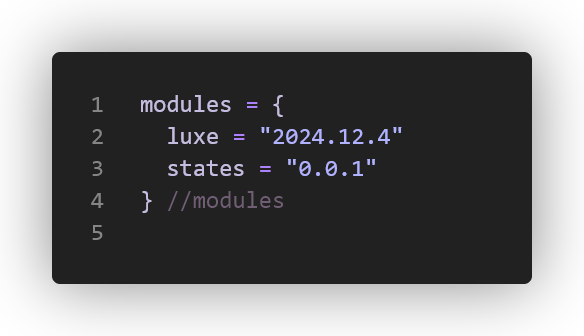
modules.lx
An easy one: tracks modules your project uses and the versions. The details of modules are a future post.
project.luxe
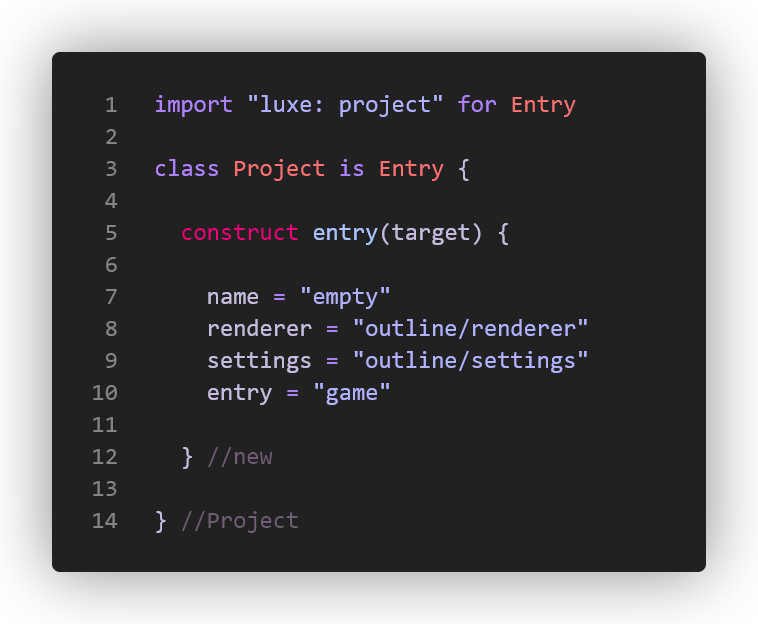
Now that we've seen inside the project folder, let's take a look inside this project.luxe file in the root. This is also in flux, mind, but this is what's in there:
entry
The details of things like renderer and such are a future post, but one important mention is the entry part. This allows you to launch the game into game.wren. If you change this, you can have multiple entry points.
We often use this for things like launching into a stripped down version where I'm iterating and just have a few lines instead of all the things, skipping all the menus and just hardcoding scratch pad situations without littering the game code itself. I've used this to launch into a version with more extensive debugging.
I've also used this to build isolated tests for deeper systems, for example if I'm testing changes to the physics engine, and want access to my render pipeline, assets, and conveniences but without hacking it into the game, I do it in isolation in the same project, and launch into it. This is useful for testing and validating underlying stuff over time on a project too, that assumptions still hold.
settings
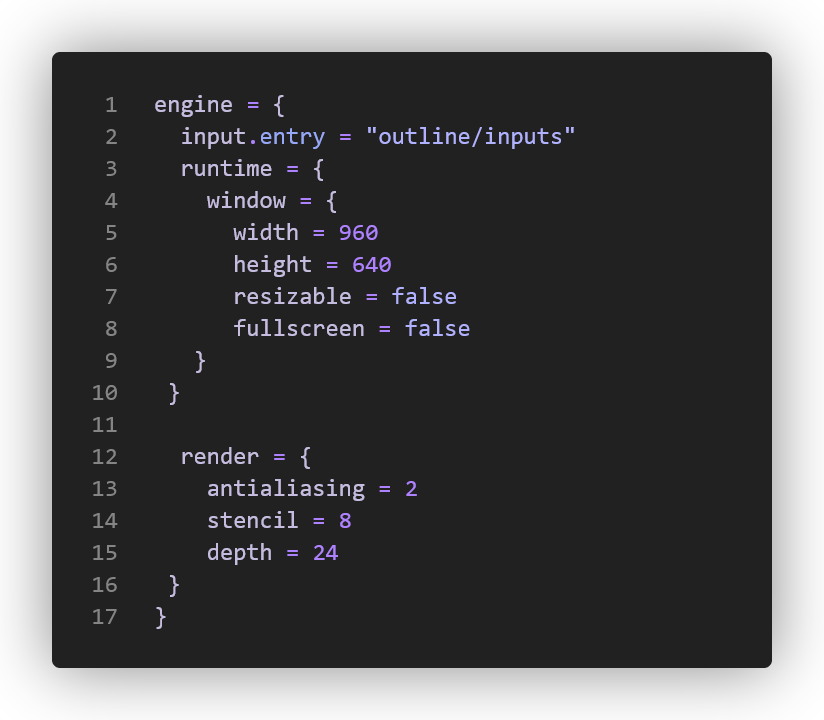
This is called the 'entry settings' file. It contains all the initial settings that will be loaded before the game is kicked off, allowing you to configure the engine and your game before anything else. Stuff like window resolution, antialiasing etc, but also game specifics and more.
Lots of settings are exposed by modules, the engine and the game to this file. As an example this is what they can look like:
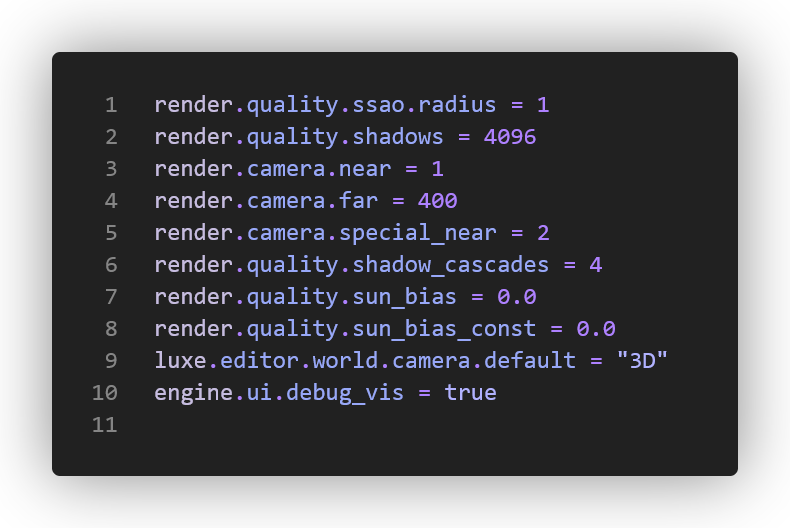
But you'll also often see them flattened out like this, as this is how you'd reference them in code. These are evolving to be typed and all that (using blocks) but there ya go.
project.luxe = wren code
One important property of this file is that it's actually code, and not data. This is because a project can often have a ton of things that need a little bit of scripting.
One example was already discussed above: build numbers. Let's say every single time you run the build, you increment a build number in the build version. The build version contains build = 0 when you start.
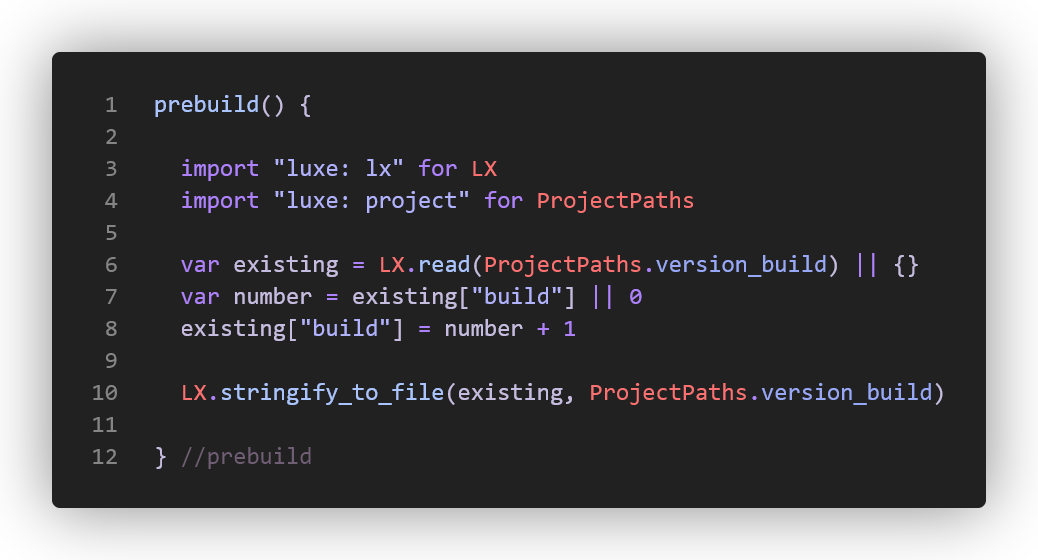
Here's a version the launcher uses to write the git version quick and easily:
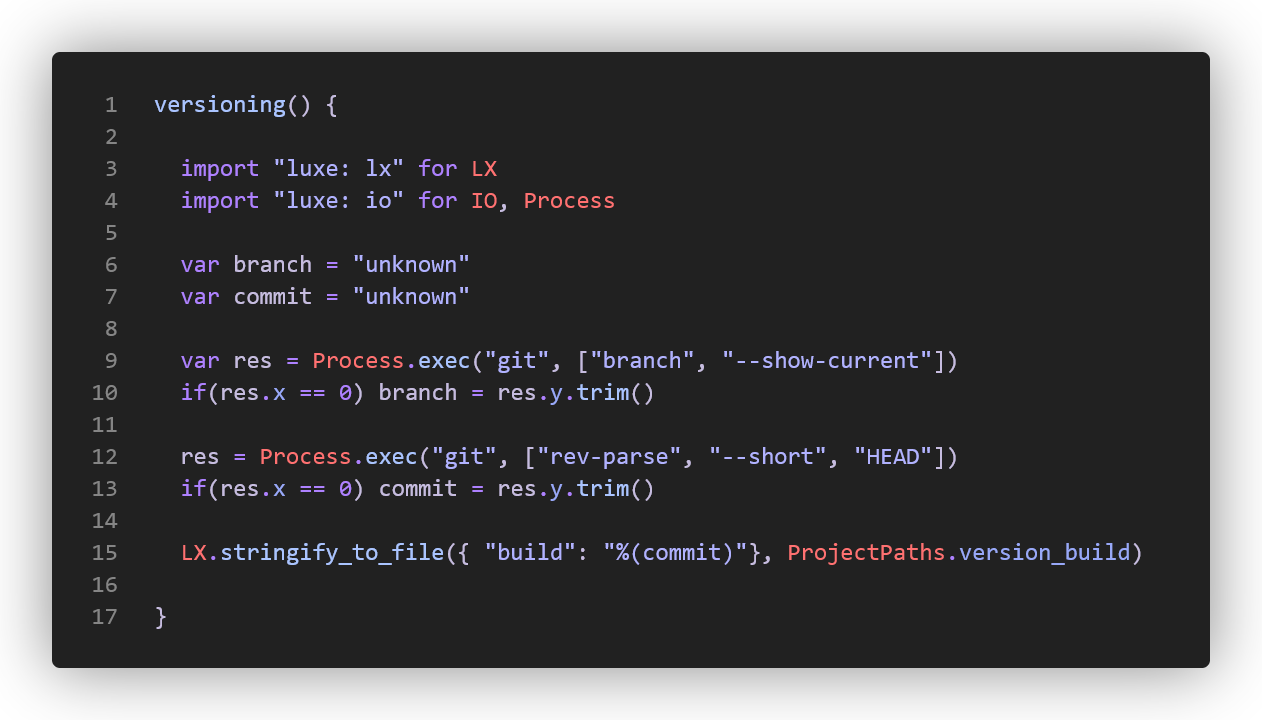
This uses the prebuild hook (old naming style, will be tidied!). Any time your project is running a build, this hook is called.
There's other's of course, post build, pre deploy, post deploy all that jazz.
Another important use case for this file is deploying builds. In our games we deploy to Steam, which does a bunch of extra steps that isn't normally done. It copies over steamworks libraries, it copies pdb files, crash reporters and all sorts into the build folder.
Often for web builds, this is how you'd customize your index.html, you can just copy your own version post deploy.
There's other handy little things in this script too, like a headless mode that skips everything else and let's you prototype stuff in wren and more.
.luxe/
This is the generated data from the asset pipeline, it stores all kinds of generated data in there.
There's quite a few cases where it can be useful to peek inside this folder, a common example is when you write shaders, they're written in a custom language made for luxe (we'll show soon) but generate other shader code e.g GLSL. It can be very important to see the actual output sometimes, so you can easily find it in there.
We also write all kinds of debug forms of data in there when asked, like when building a font from a TTF file, we might want to see the raw glyphs as pngs, or the pages of glyphs as pngs. If you ask it to, those will be dumped in there for debugging.
It also tracks stuff like whether or not things need compiling, if you delete this folder, you'll get a clean build again.
One extra note: modules have their own .luxe folder, so if you built luxe module content in project A, project B doesn't duplicate it and doesn't rebuild it.
Project Outlines
One thing the empty project doesn't contain, is what we call an outline.
These are fundamental to luxe workflow, as you often want to set up a project from a working version rather than from scratch. For this we have outlines which are a template project. When creating a new project from the launcher, you get shown all the outlines from modules like this:
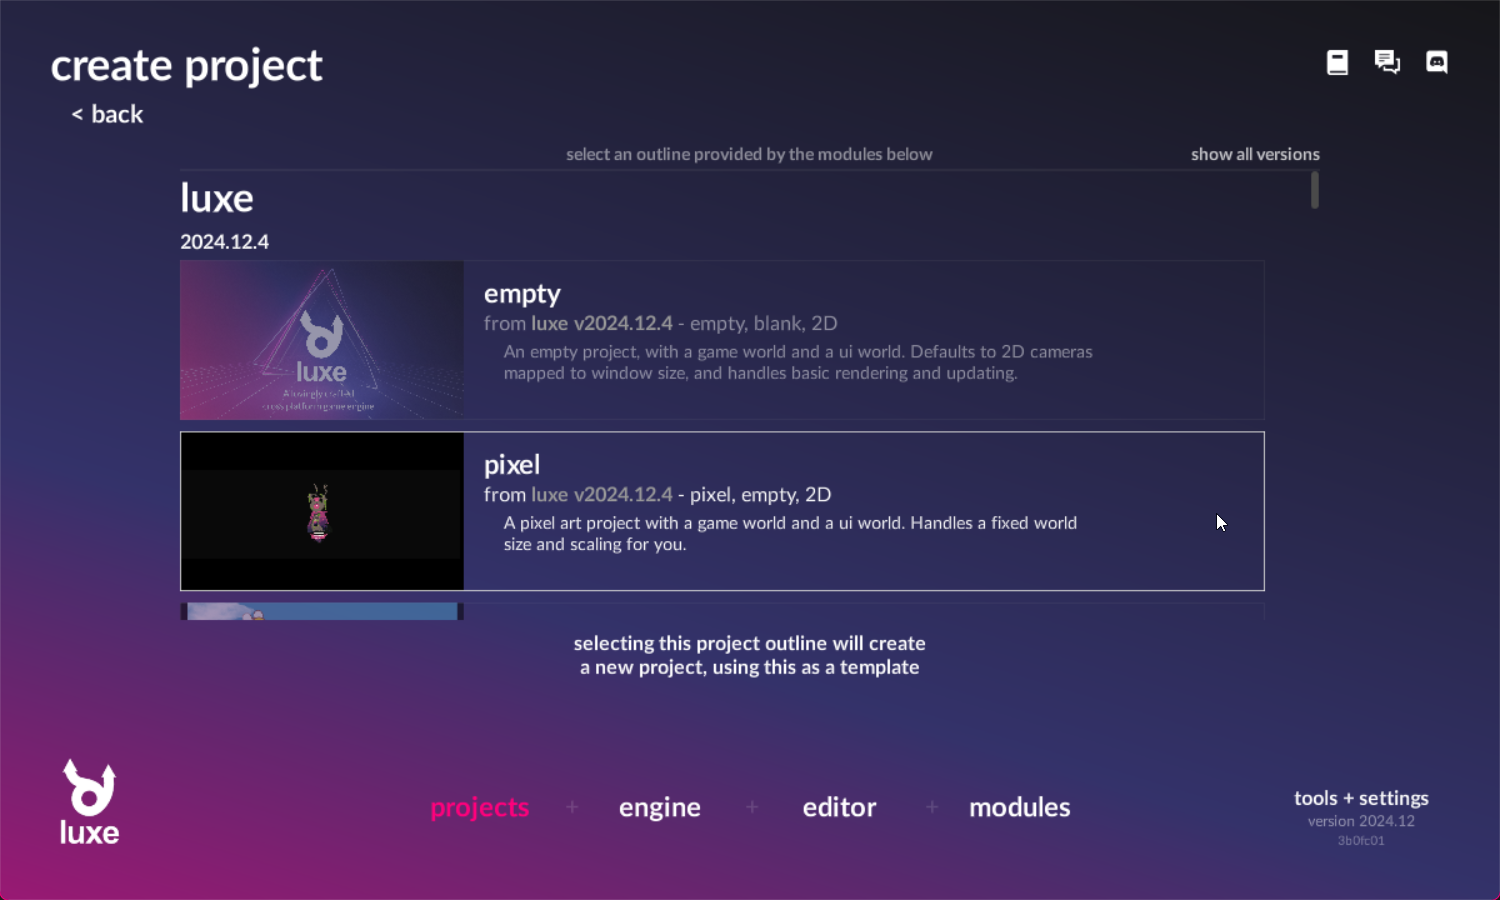
Any module can provide them, and luxe comes with a few and will add more over time. When we pick the pixel art project outline, we get to enter some data before it's created, like in this case world size in pixels, background color and (off scroll) the color of the letterboxing.
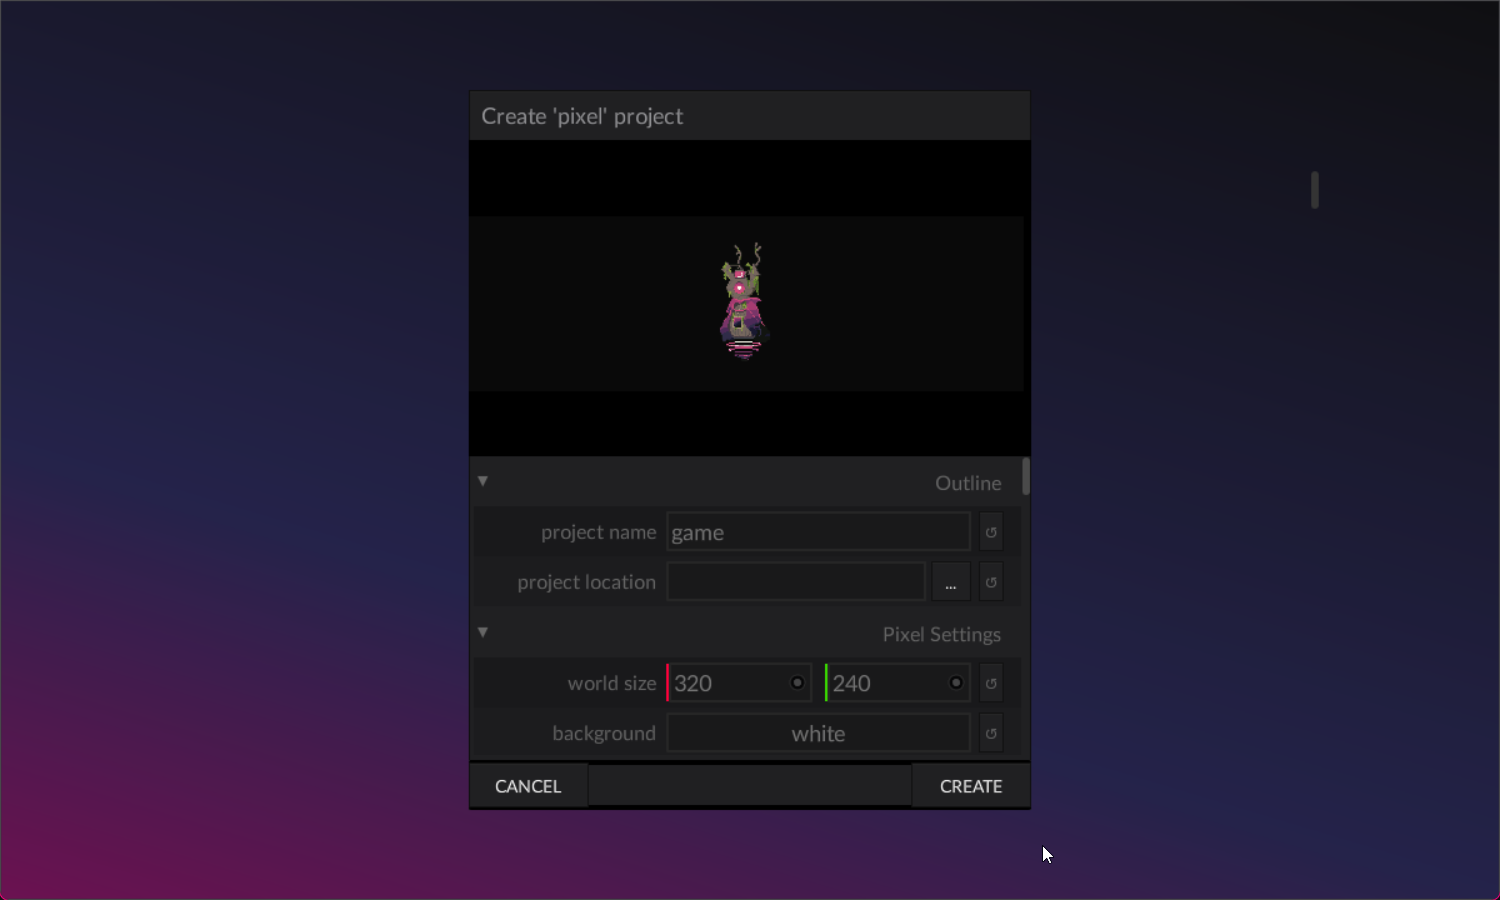
For a 3D project, you'll have a lot of other settings. Once you hit create, it'll generate the resulting project ready to go.
Typically this results in a folder inside the project called outline/. This contains all the configs the outline preconfigures. The project root will contain assets and stuff.
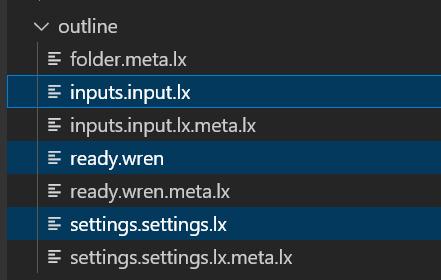
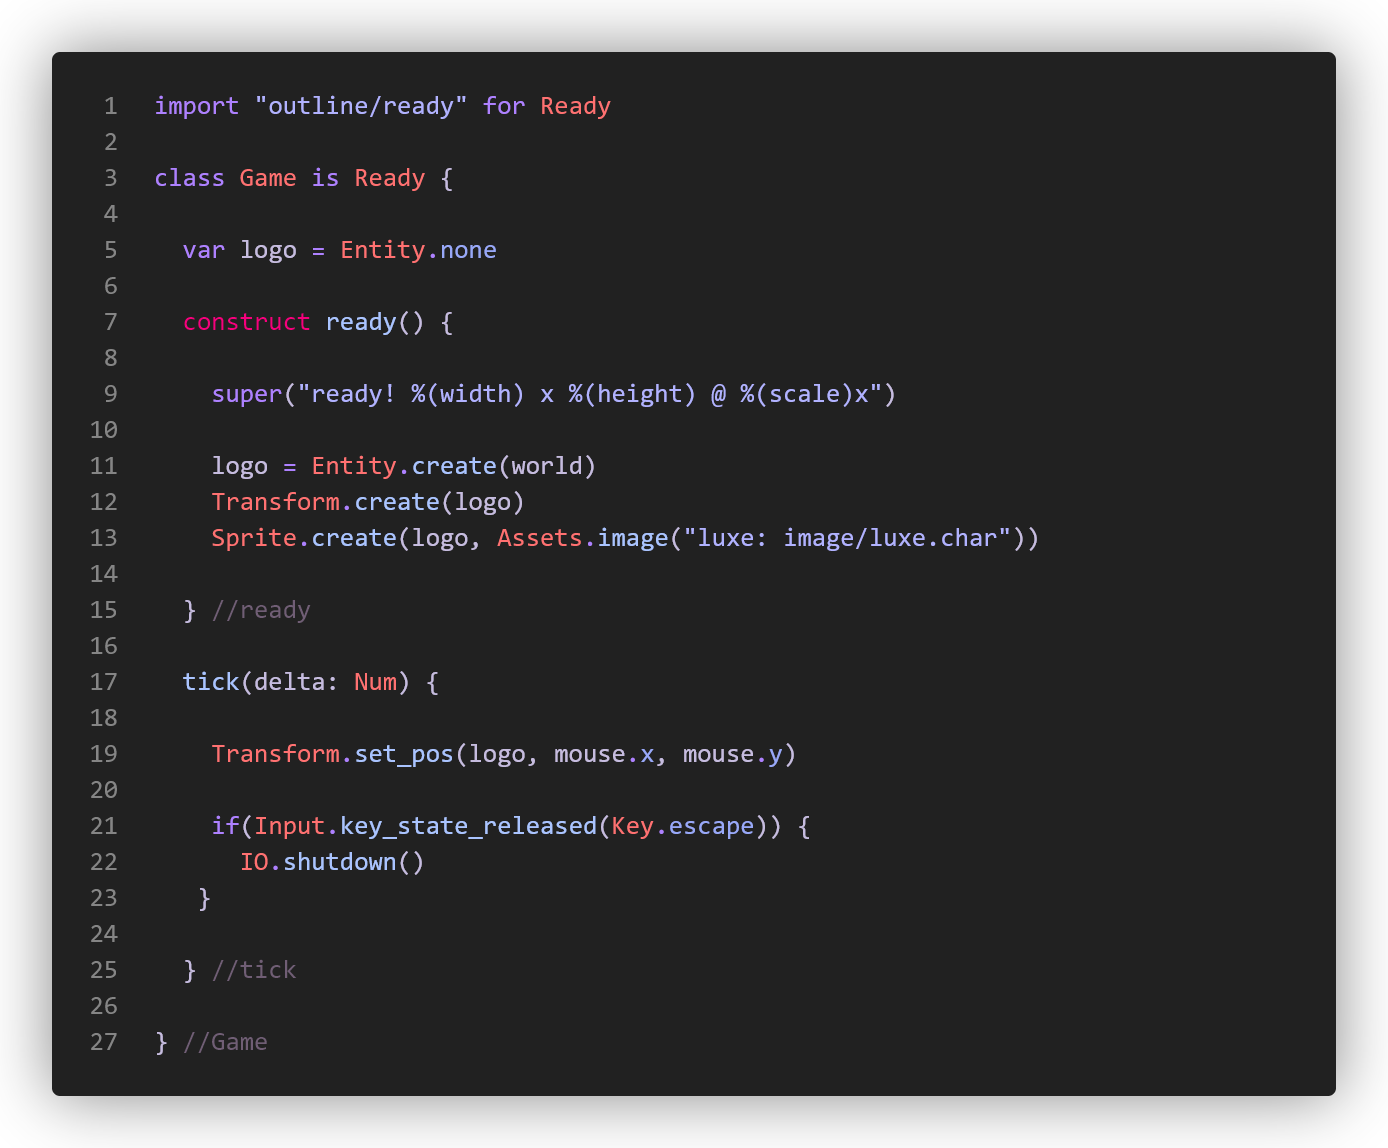
One important difference is that instead of the empty Ready from the engine, you instead grab it from your outline. This gives you access to all kinds of convenience. A very common set up is that the outline creates a world and a ui world for displaying things separately, a camera for each, and manages the rendering and ticking of those for you.
The pixel outline also manages coordinate space conversions for you, like scaling of your content to the window size without messing up the pixel art and letterboxing as needed.
This creates a need for accessing the mouse location in world space rather than window space or whatever, so it provides mouse, a convenient accessor for that. It handles all conversions and camera details to simplify your process.
That's it
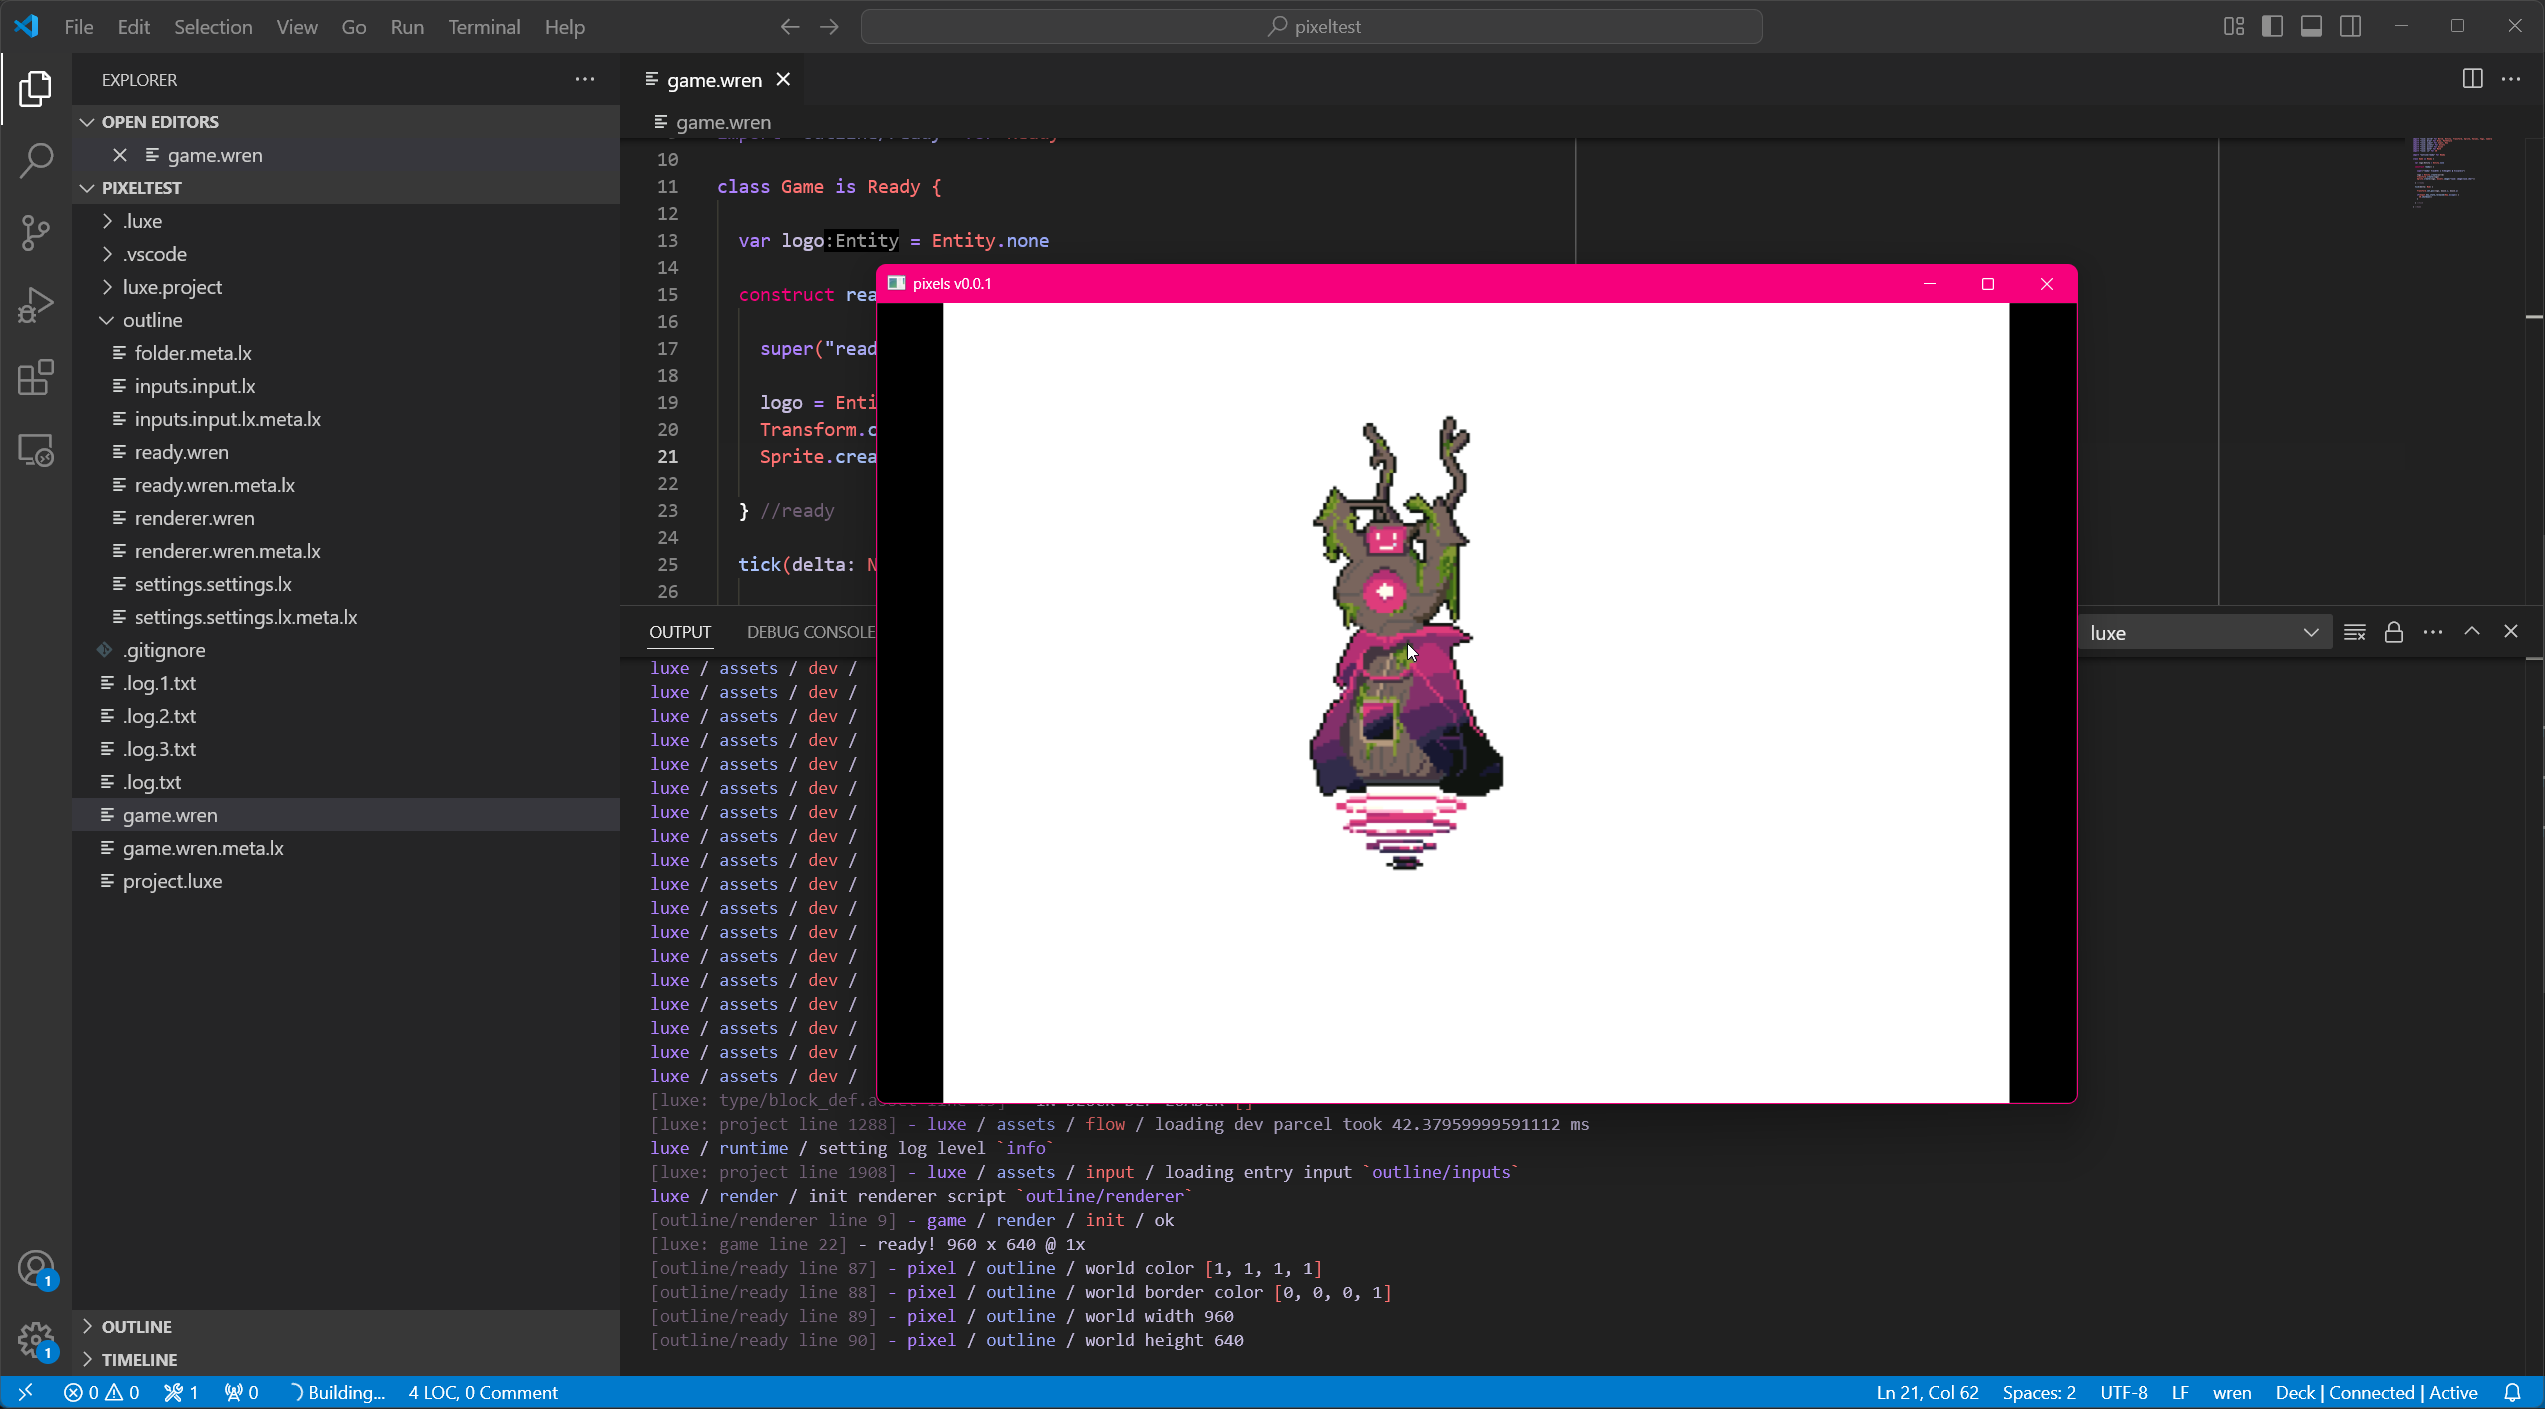
Now you have a project, it's filled with modifiers, scenes and more, and you hit run in vscode. This runs the game and displays the logs nicely formatted for you.
Part 4: fin
Our journey in seeing what it looks like to use luxe is done for now! We hope you enjoyed this little exploration into what we've been up to in luxe and how it pieces together.
We have more posts in the works detailing rendering (on the tech posts side), as well as talking about the wider preview release. Those posts are landing soon so keep an eye out.
Get the latest news
All posts in this series:
